Create a Custom Field
Fields are what house data about an individual in PropFuel, either synced automatically from your AMS or uploaded manual via a CSV.
These fields and their data can be used to trigger people into and out of campaigns, as well as pull in personalization for a contact, such as their organization or first name.
By default, PropFuel will provide the below fields for mapping. If you need fields beyond PropFuel’s default options, you’ll need to create custom fields.
Title
Organization
Work Anniversary
Birthday
Member Type
Join Date
Expiration Date
Create a New Field
You can create unlimited custom fields in PropFuel to fit your needs.
Navigate to Settings -> Advanced -> Fields and click Create Field.
Add a field name: the name does not have to match exactly what is in your outside system or CSV file. You will later map the field.
Select the field type: fields are typically either date, phone number, or text.
Add a Personalization Default (optional). This is the backup value that shows if a field is empty for someone in a campaign. For example, if a contact doesn’t have a First Name listed, you can set “Colleague” or “Friend” as the default. If they do have a name, the system will use that instead. But if their name is missing, it will show the default so it’s never left blank.
Map Your Field
After creating your field, you'll need to map your fields in PropFuel to fields in your outside system. Mapping is how we know what fields in your external system to store and where to put them in PropFuel.
Navigate to Settings -> Advanced -> Connectors.
Click Edit on the connector you want to map.
Under Field Mappings, click Configure.
On the left are all the fields in PropFuel you can map. On the right are drop-downs with all the fields available for mapping in your external system. You can select one (or more) fields from your external system to store in a corresponding field in PropFuel. If you select more than one field in the mapping a space will be added between them.
Click Save.
‼️ If you do not have a connector, you can skip this step. Instead, you will map fields each time you upload CSV files to individual campaigns.
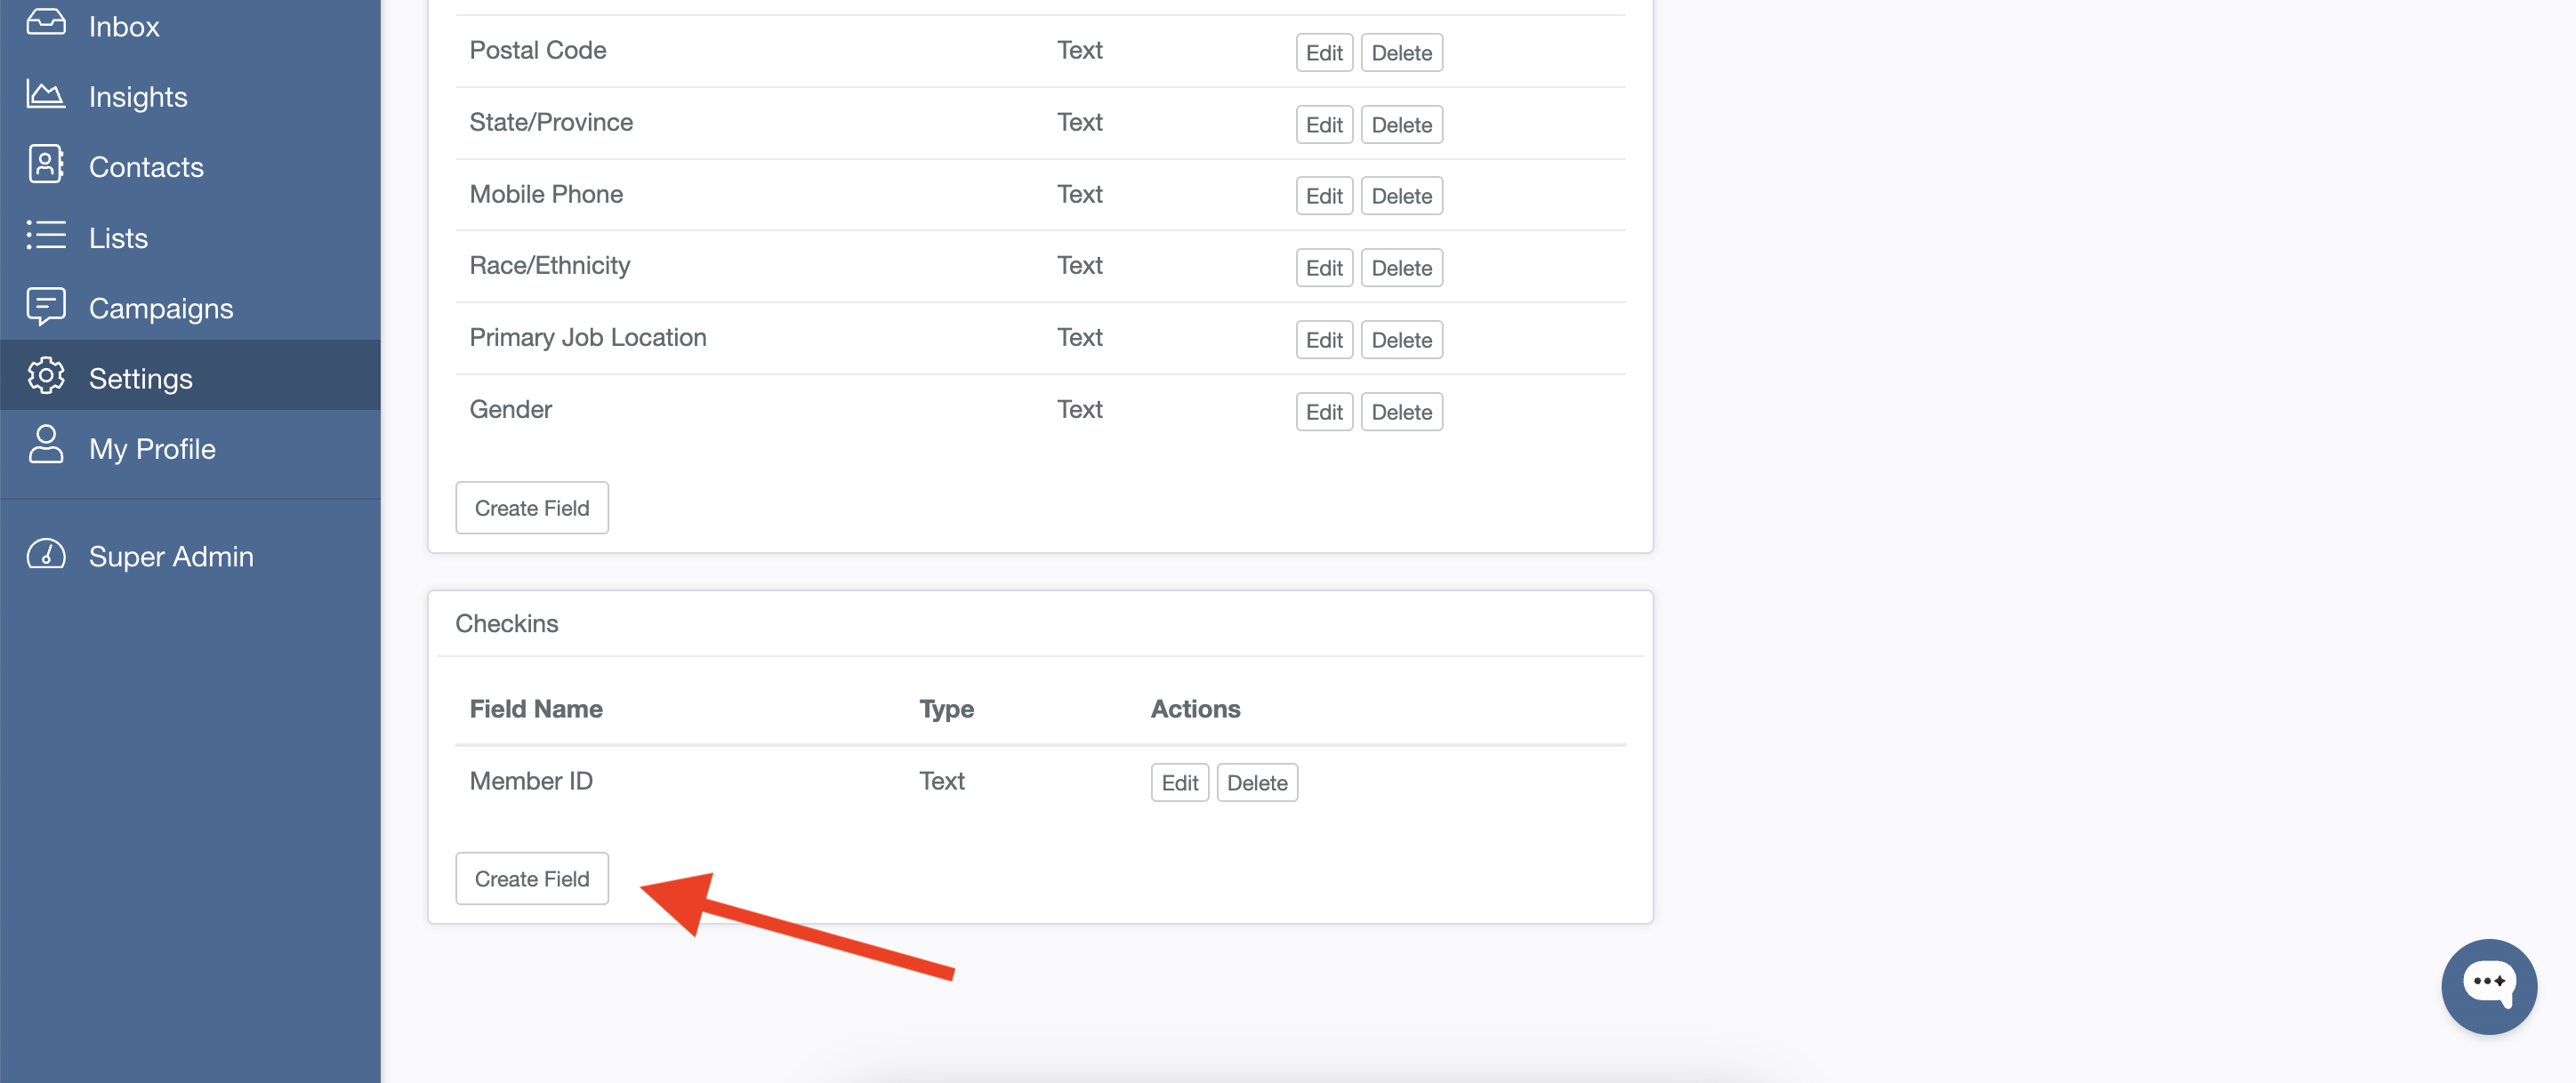
Check-in Fields
In addition to creating custom contact fields, you can also create custom check-in fields.
Check-in fields allow you to add additional fields of data that you can pass to PropFuel to identify who answered a web/external question in another system. If you'd like to pass identifying information to PropFuel other than full name, first name, last name, or email address, you will need to add additional check-in fields to your PropFuel instance by navigating to Settings > Advanced > Fields > Check In Fields > Create Field. Once you create and save your check-in field, it will be immediately available in the link builder.