What is a Web/External Campaign?
Why Embed PropFuel Campaigns?
PropFuel helps associations to collect feedback everywhere, such as in your newsletters, in your staff signature lines, on your website, or in text message campaigns. PropFuel web/external campaigns make it easy to build questions without the full email. You'll build a specific campaign type (web/external) in PropFuel, grab the URL in settings, and paste it where you want to the link displayed.
Use Cases
Here are some ways our clients use Embed Campaigns:
Order confirmation pages or emails
Customer support follow up
Conference use cases (see our QR code documentation)
Email signatures
Newsletter polls
Website feedback
Create Your PropFuel Embed Campaign
In order to create your PropFuel embed campaign, you'll follow the steps we've outlined here:
Go to the campaigns area of your PropFuel account (https://app.propfuel.com/campaigns)
Click on the '+Create Campaign' button on the right side of the page
On the next page, select 'External Embed' as your Campaign Type
Proceed to the 'Design" tab within your campaign and create your campaign check-in as you normally would, populating the check-in with the questions you would like answered by your respondents. You can have as many questions as you would like, but there can only be one check-in on an embed campaign.
Once your check-in is complete, proceed to the 'Settings' tab within your campaign - the second section on that page is titled 'External Link'
Using the link builder, select which fields you would like to pass from your external system to PropFuel to track who is responding to this question, if you would like responses to be anonymous, you do not need to select anything here
Copy the link which PropFuel has dynamically generated - the link will begin with the following https://app.propfuel.com/checkin/embed
If you would like to record the answer to your first question directly in an external platform, select the "Unique Response Links" option. In this case PropFuel will generate a link for each selection, allowing you to record the user's response directly in your external system
Passing information
In order to track who is answering the question, you will need to pass identifying information to PropFuel that we will record alongside the answer to the question. The link you generated in the last steps should look something like this:
https://app.propfuel.com/checkin/embed/9a144e9e-682a-4336-805a-9ef9944c7ecc?first_name={{FIRST NAME}}&last_name={{LAST NAME}}&email={{EMAIL}}
In this link, there are three tokens that should be replaced with identifying information, {{FIRST NAME}}, {{LAST NAME}} and {{EMAIL}}. When you embed this link into your external system, you will need to replace those tokens with the actual information you want to pass along with the user, so it will end up looking like this
https://app.propfuel.com/checkin/embed/9a144e9e-682a-4336-805a-9ef9944c7ecc?first_name=Mike&last_name=Smith&email=msmith@propfuel.com
How you actually do this will depend on the system you are working with. In an email marketing tool, you can generally use mail merge variables or something similar to fill in the information. On a website, you will have to reference the capabilities of your CMS to figure out how to dynamically generate the link based on the current user information.
If you don't pass along the information, the response will be recorded as anonymous. If you would like, you can add open ended questions asking for the user to enter their information so you can attribute it after the fact.
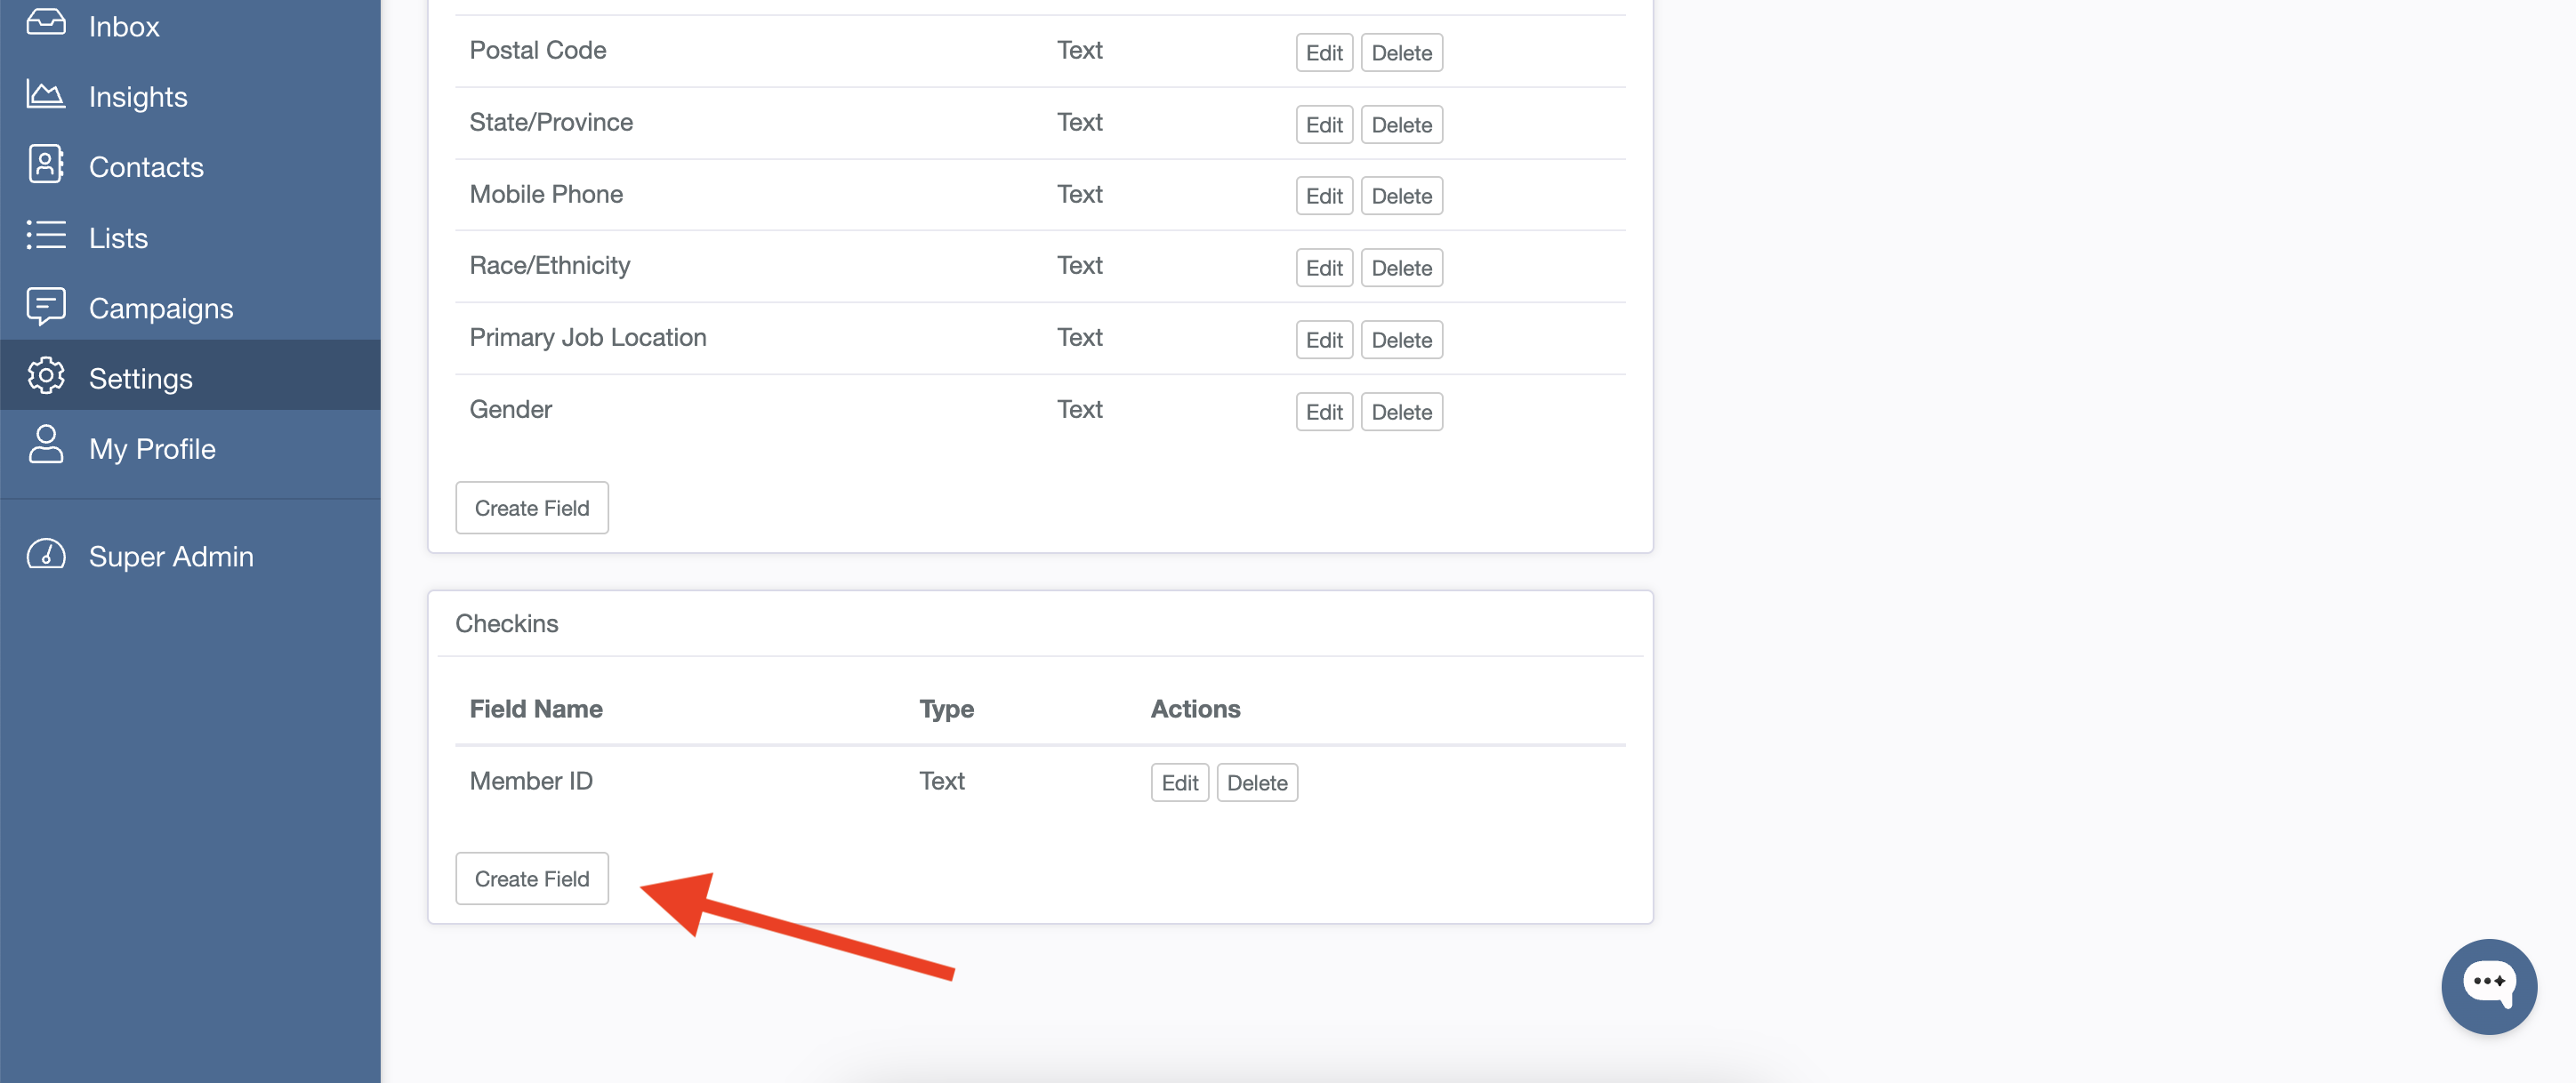
Check-in Fields
Check-in fields allow you to add additional fields of data that you can pass to PropFuel to identify who answered a web/external question in another system. If you'd like to pass identifying information to PropFuel other than full name, first name, last name, or email address, you will need to add additional check-in fields to your PropFuel instance by navigating to Settings > Advanced > Fields > Check In Fields > Create Field. Once you create and save your check-in field, it will be immediately available in the link builder.